
Revitalize Your NAS Service: Unveiling Top Secrets for a Stunning Makeover! Bored of the Monotone Software Interface? Try Our Exclusive Beautification Tips

Introduction
Those of us who enjoy playing with NAS are essentially like me, the older men:
Items purchased years ago that still work, with no desire to switch them out for something more fashionable or trendy.
Clothes and shoes that are simple and classic, prioritizing quality and durability.
Using the default phone ringtone, a 3-year-old phone feels brand new with just a screen protector and a new case.
…
We’ve become the least regarded in the consumer army… [Girls > Children > Young Women > Elderly > Dogs > Men]
But… this doesn’t mean we are a group of sloppy, old-fashioned guys.
In fact: We also strive for beauty, and we also like flashy and trendy things; it’s just that as men, we are more rational, seek longevity, and are less likely to fall into consumer traps…
Today, I’m breaking the norm. Instead of sharing practical tutorials, I’ll guide you step by step to beautify your NAS and the interfaces of various mainstream software services (qBittorrent, Jellyfin, Emby, etc.) from top to bottom.
The inspiration came from
A couple of days ago, I saw an article by a community expert, Stark-C, about "【VueTorrent】An Amazing qBittorrent Theme, Accessible to Everyone", introducing a cool-looking alternative to qBittorrent called VueTorrent.
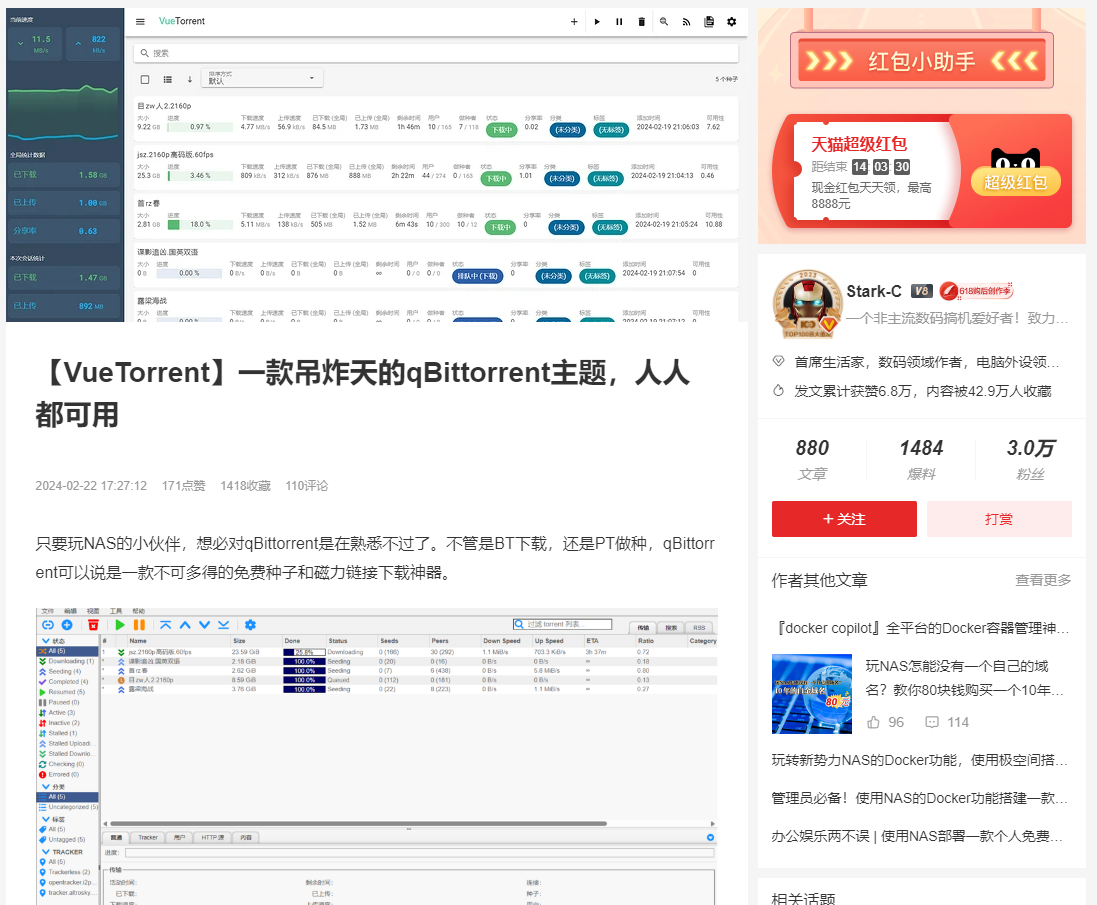
Reading the comments, many people tried this trendy theme, but unfortunately, it seems not to go smoothly. There were many errors, far from the stability and reliability of our old qBittorrent, and switching to a new service required a lot of effort…
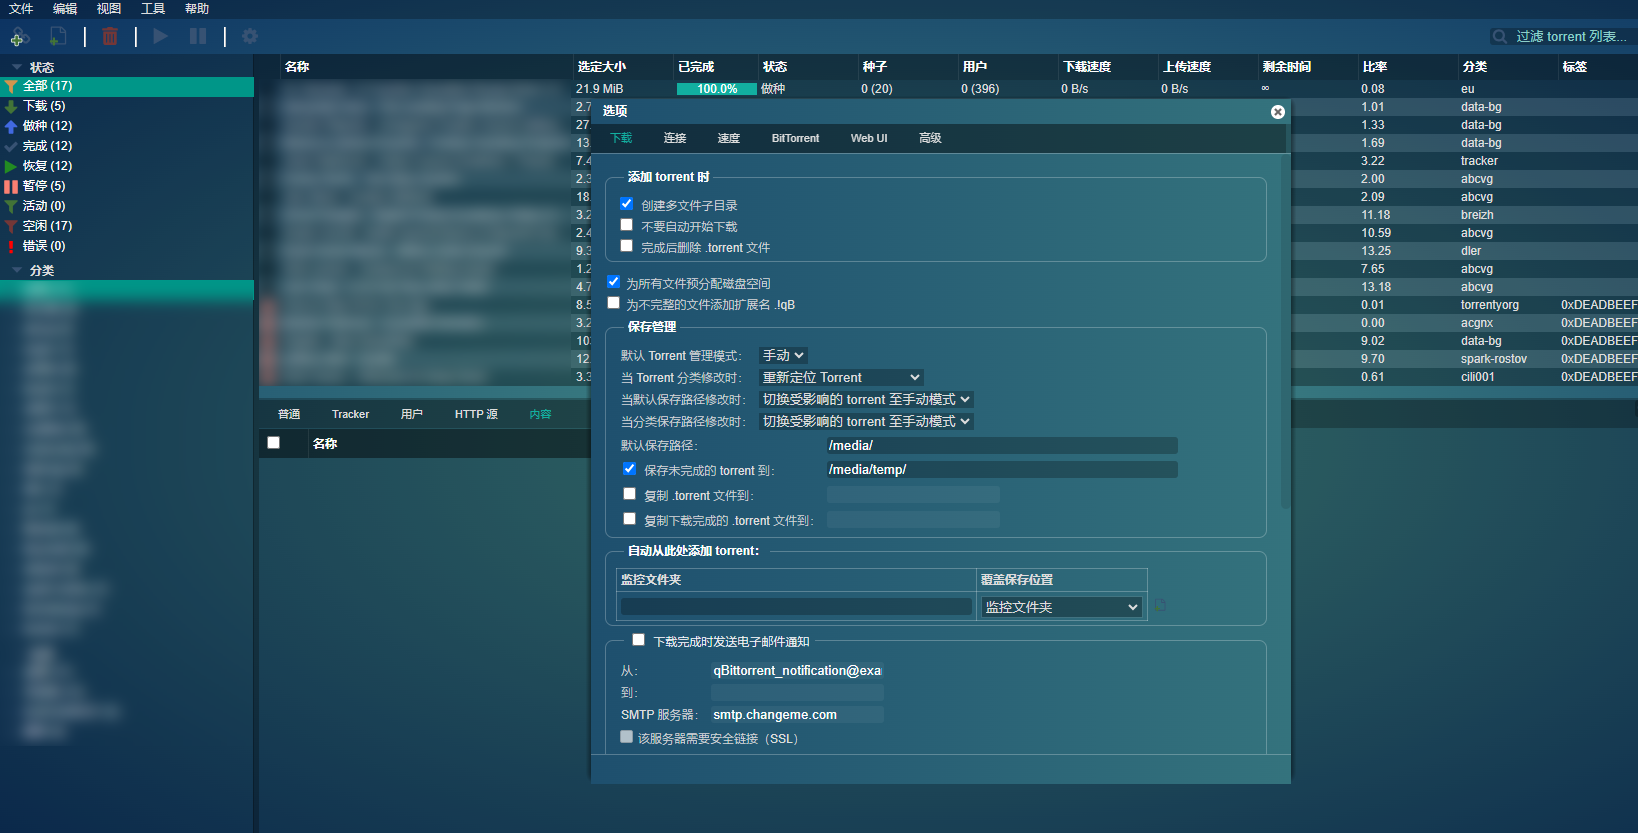
But qBittorrent’s appearance is just too ugly.
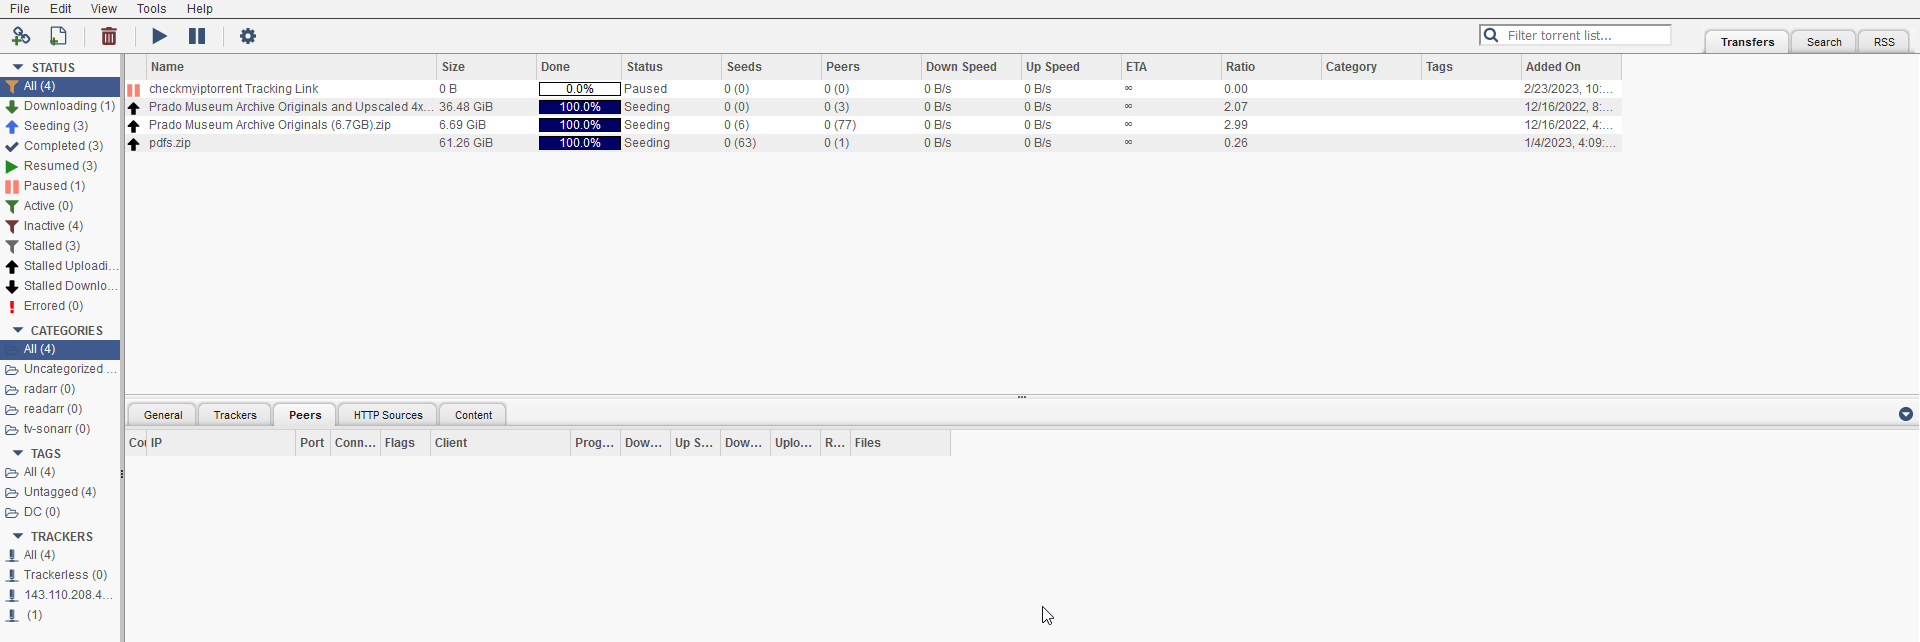
Today, I bring you something new and will teach you, step by step, a simple method to completely transform your qBittorrent and other services.
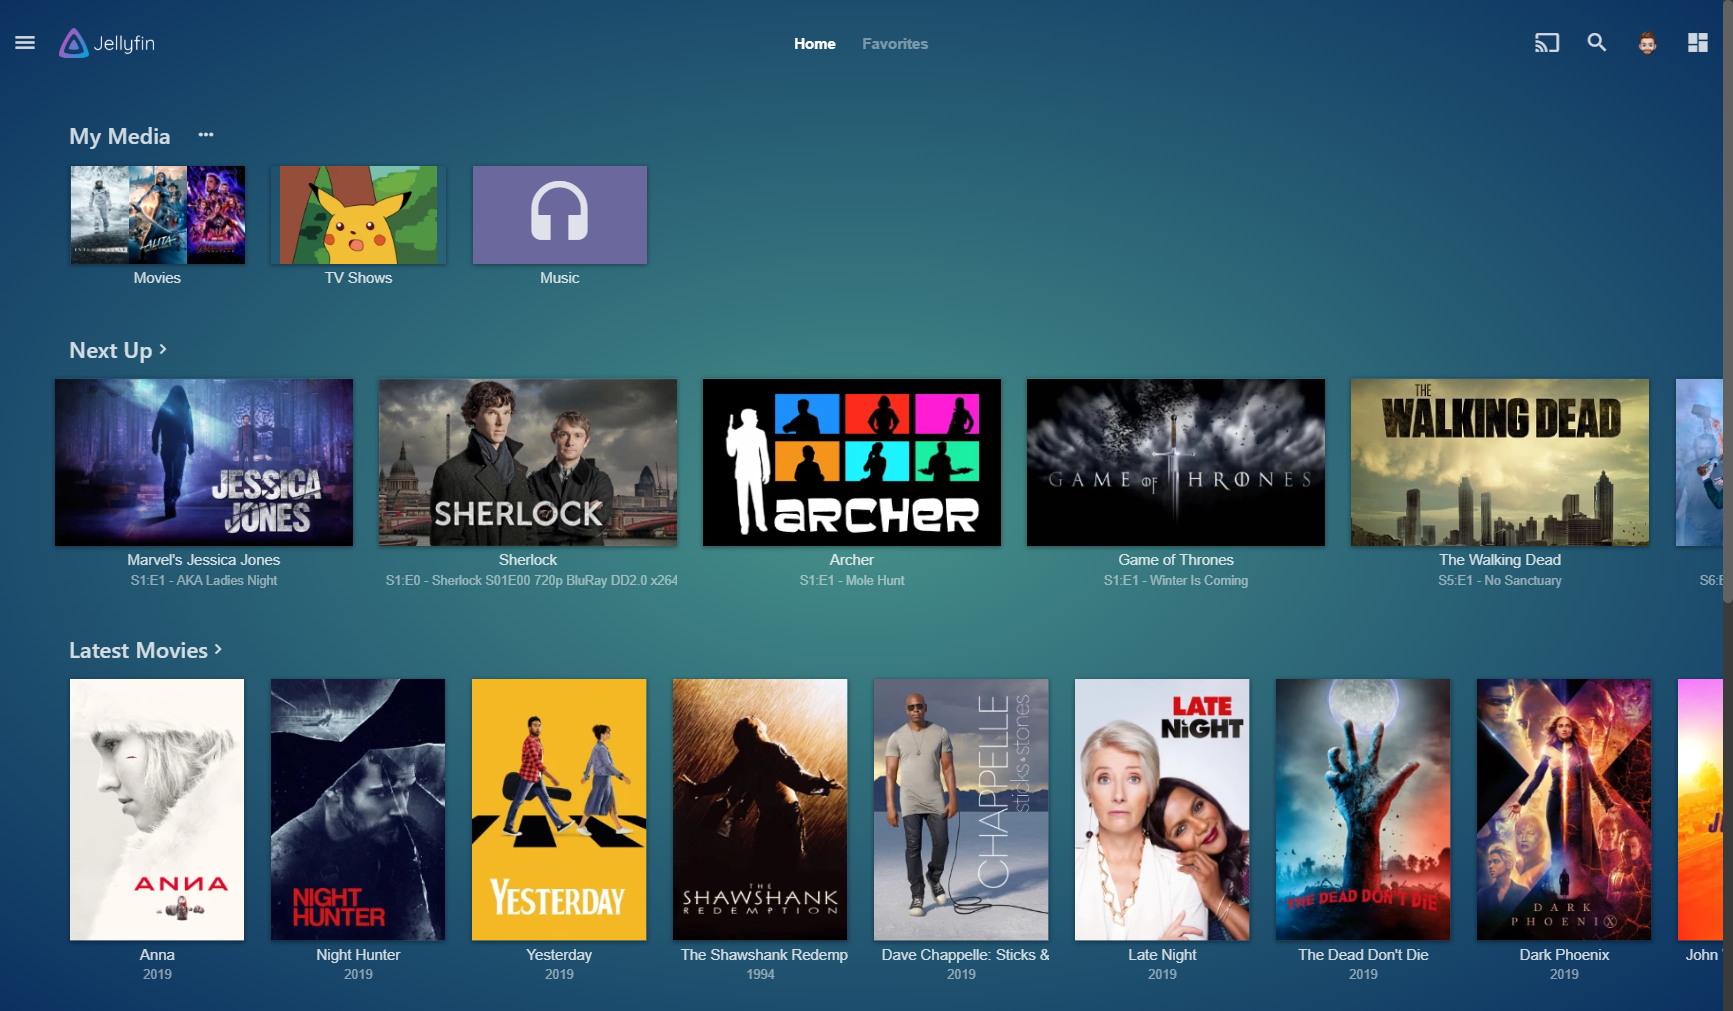
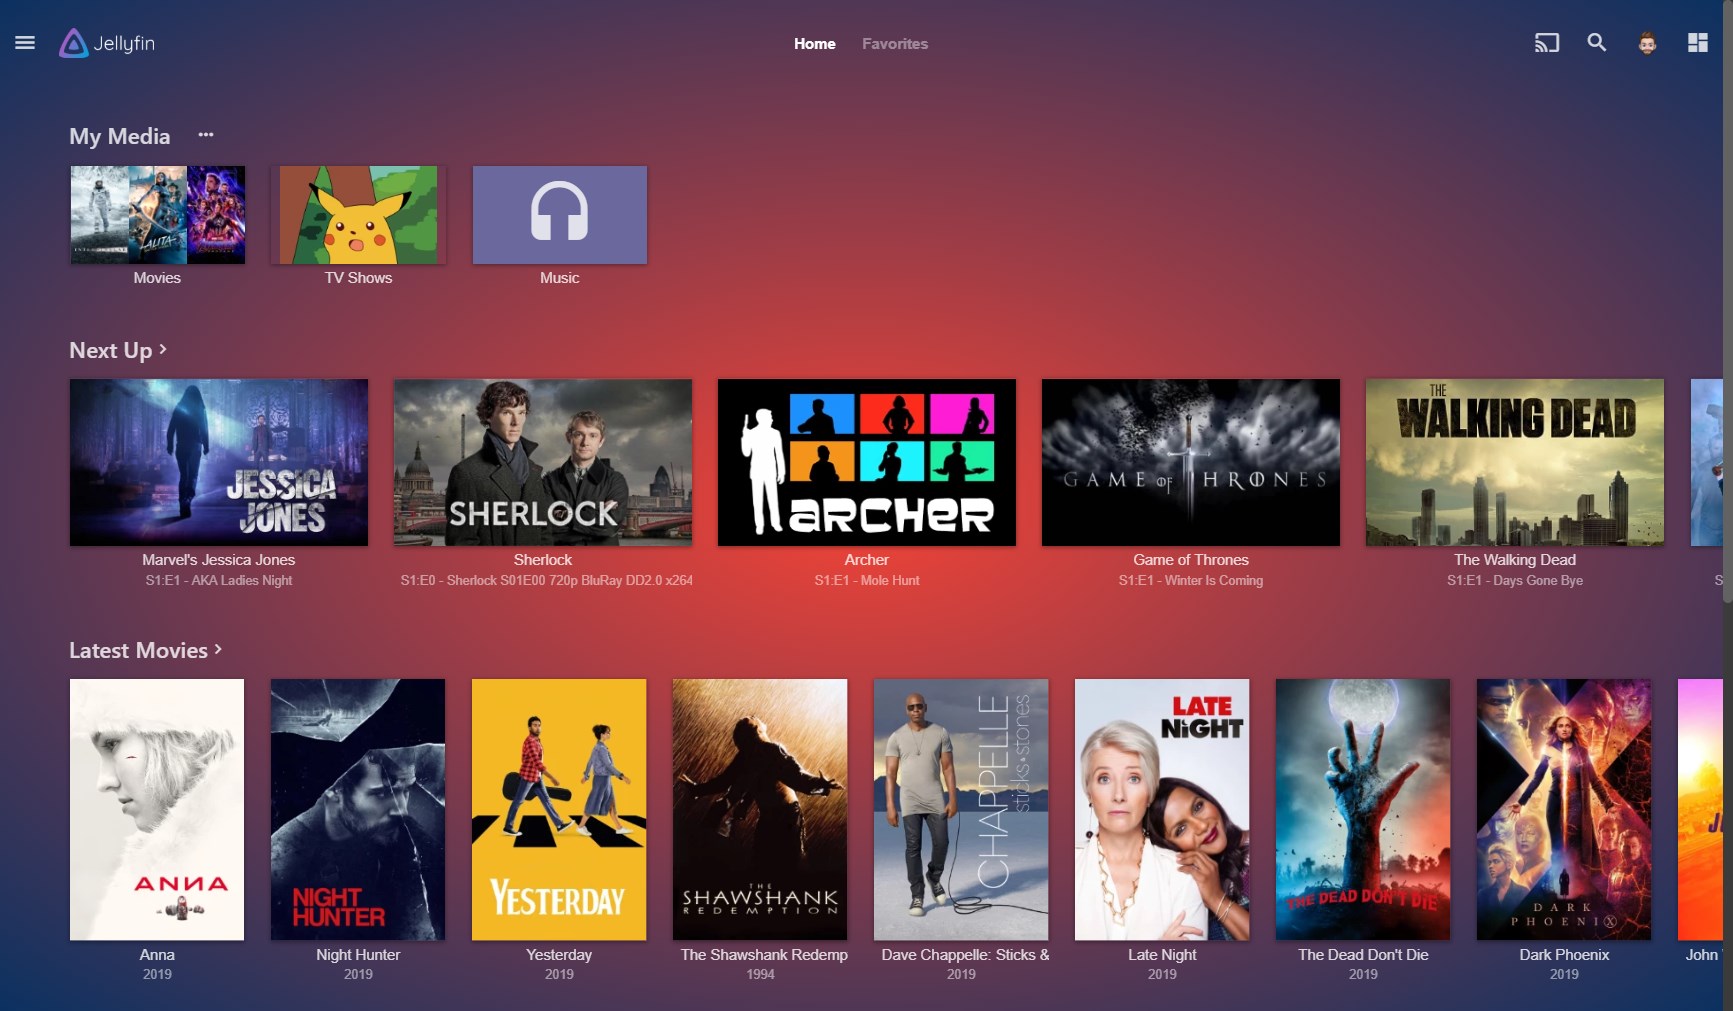
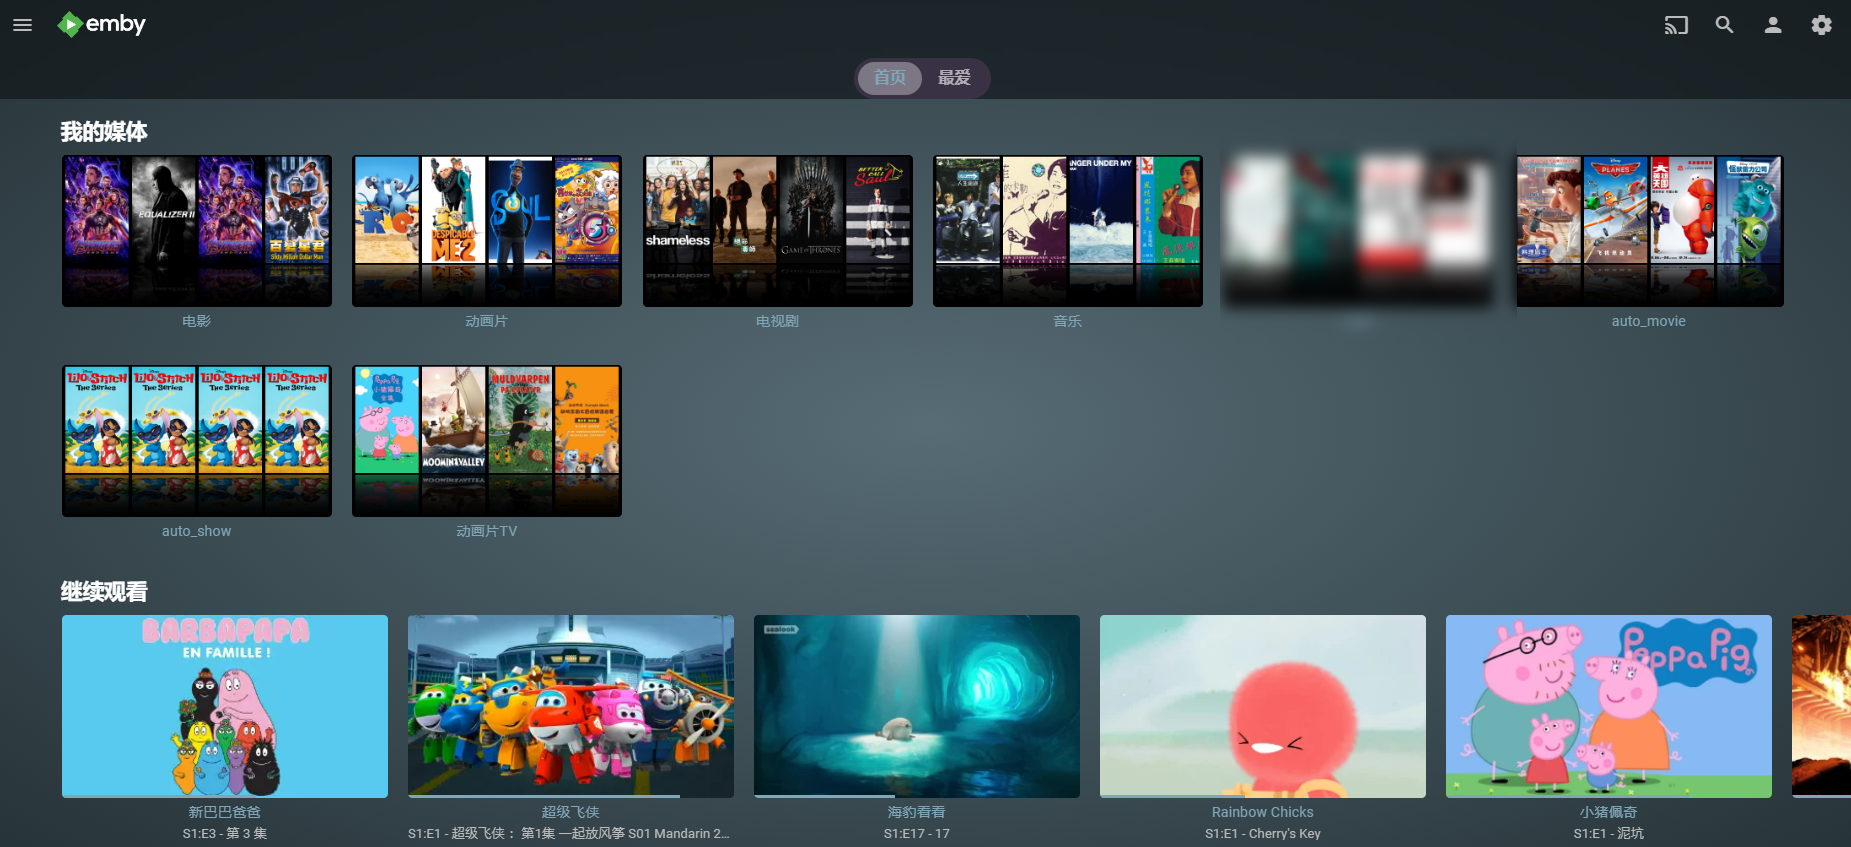
Not just qBittorrent, but other mainstream software like Jellyfin, Emby, etc., with multiple themes to choose from.
Without further ado, let’s get started. The entire tutorial is very simple.
Introducing Theme-Park
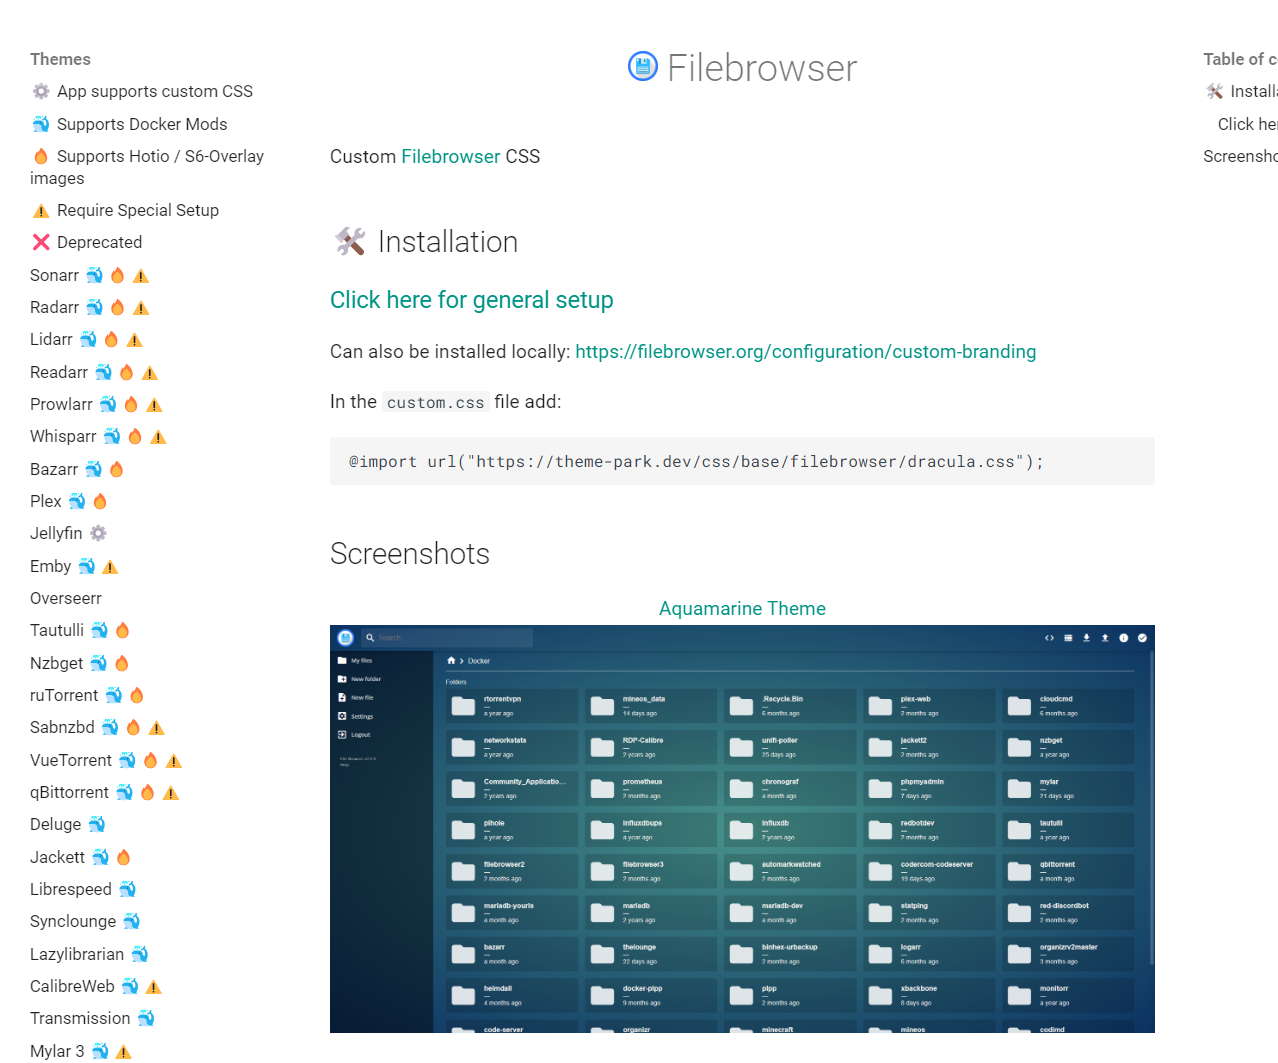
Theme.Park is a collection of themes/skins for over 50 self-hosted applications.
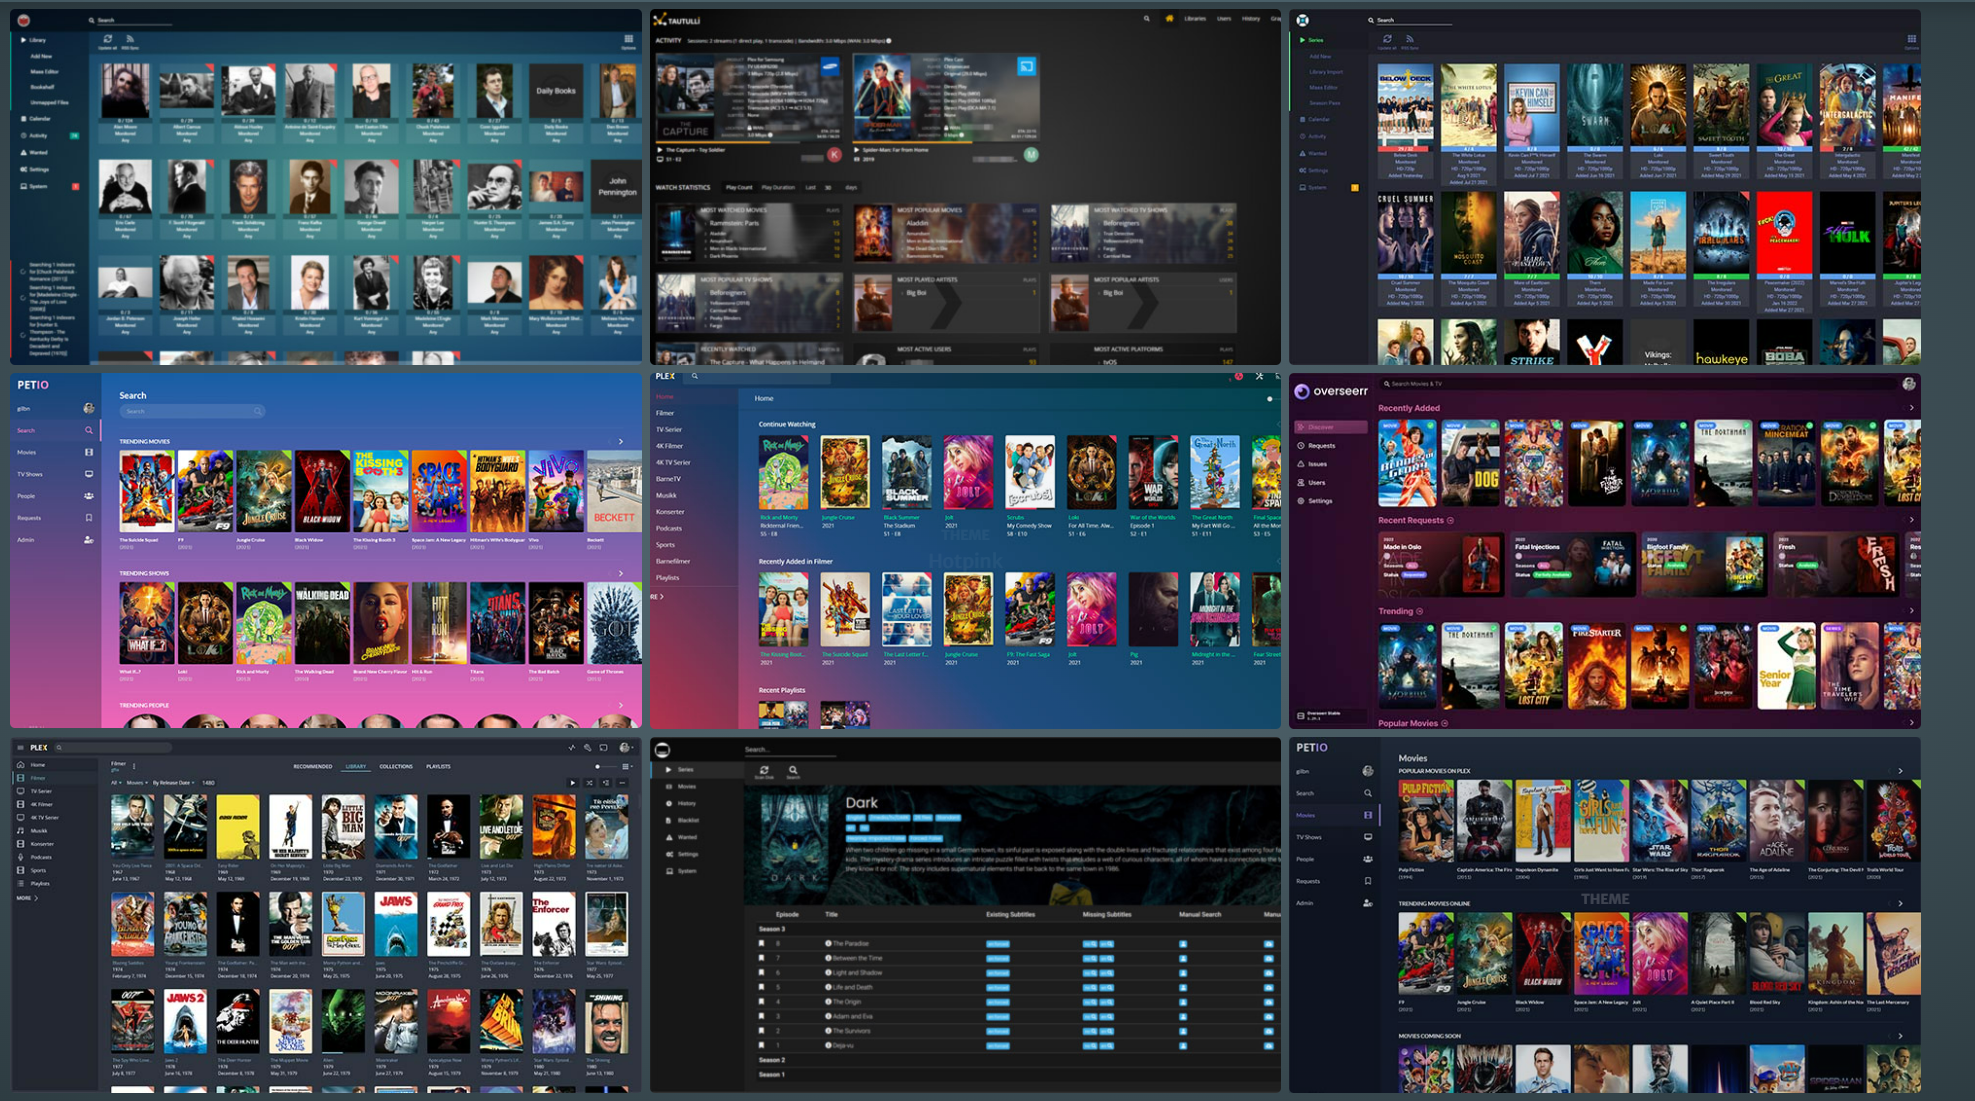
Supported applications include, but are not limited to:
- Media Services: Plex, Jellyfin, Emby, Sonarr, Radarr, Lidarr, etc.
- Download Tools: qBittorrent, Deluge, ruTorrent, Transmission, etc.
- System Monitoring: Netdata, Portainer, Pi-hole, etc.
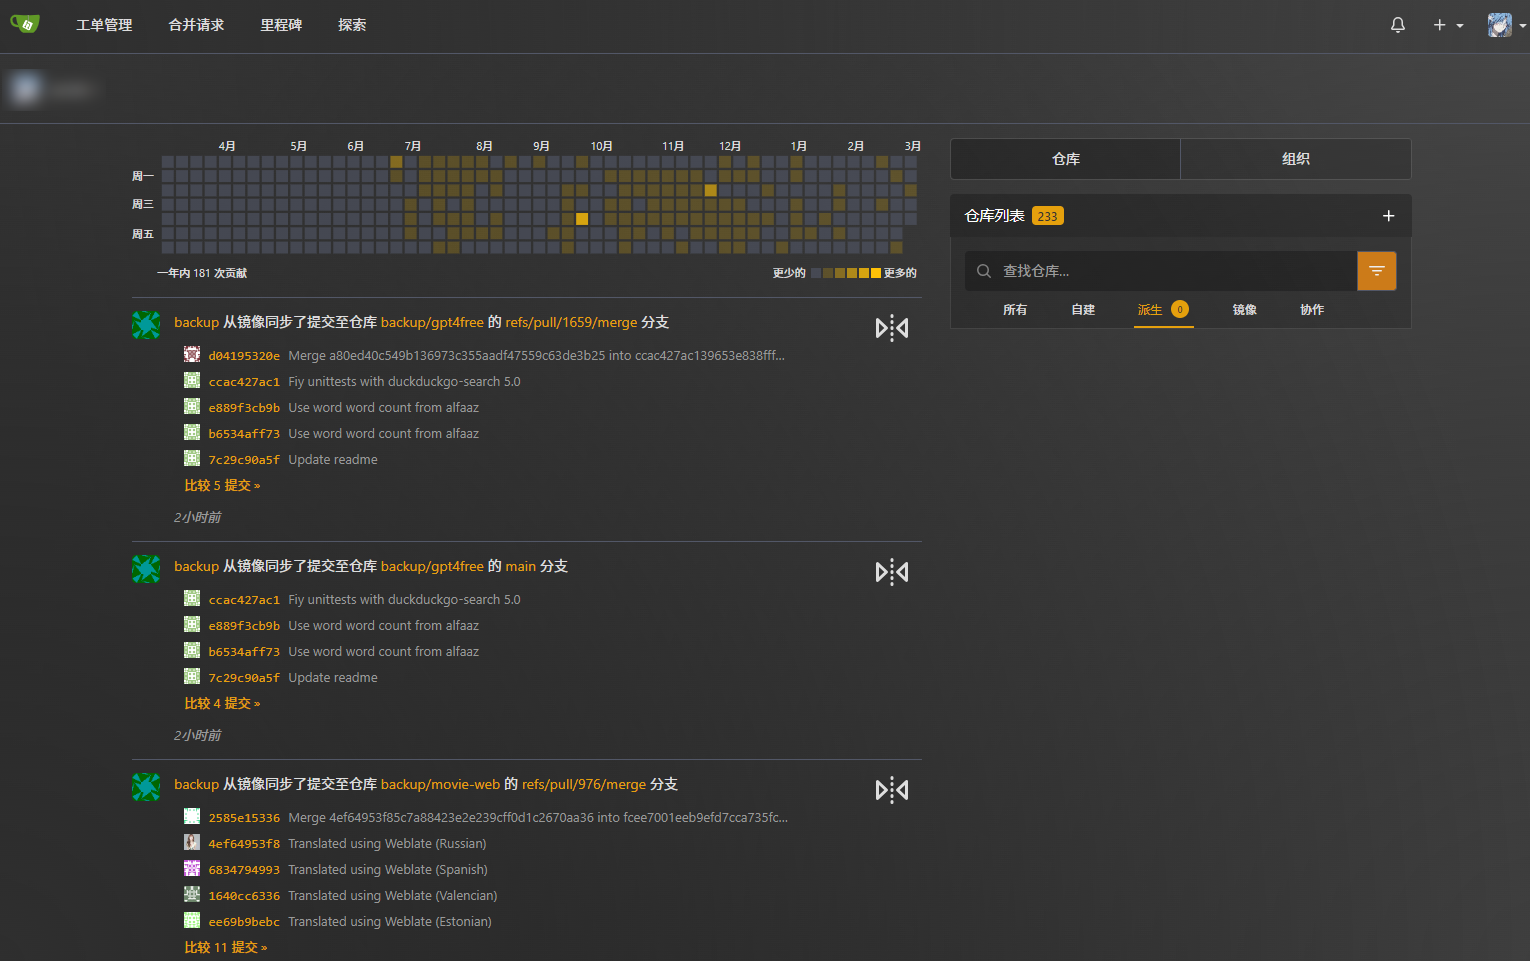
- Other Tools: Bitwarden, Duplicacy, Gitea, Unraid, etc.

Benefits of using it:
- No need to modify or replace existing services.
- Zero intrusion.
- Multiple themes to choose from.
Easily achieve your aesthetic goals.
Next, we’ll officially start the setup process.
Setup Steps:
Key Points
“Hit the free follow button” to not get lost.
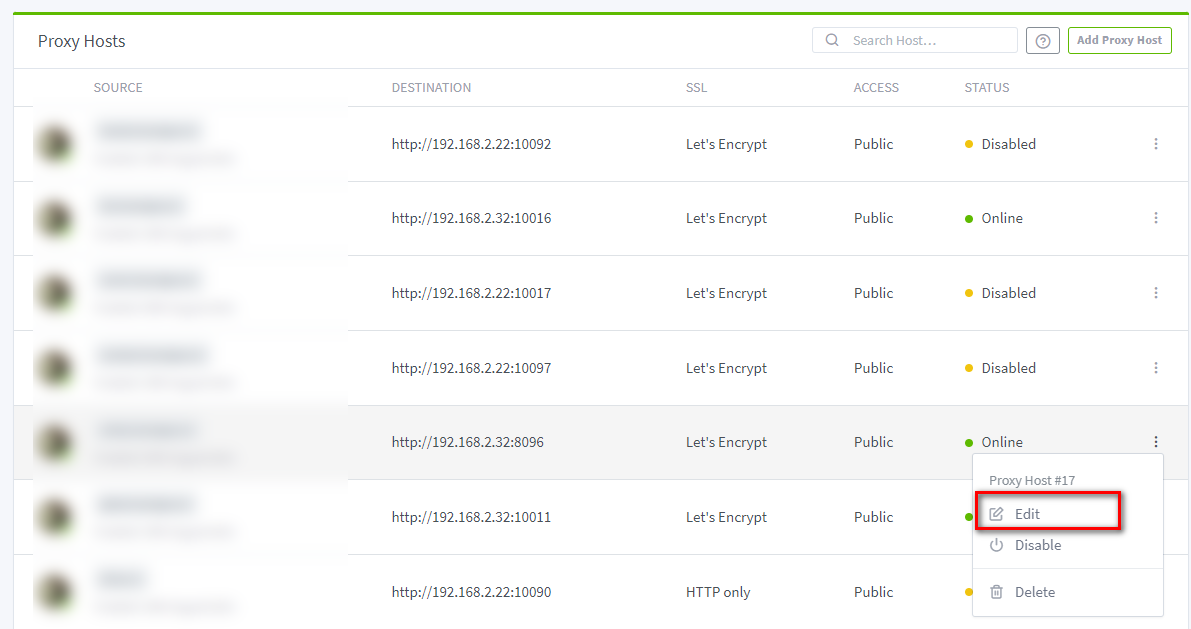
2. Deployment
Since I am using something like Nginx, the Nginx Proxy Manager as my reverse proxy, the whole process is very simple and only requires a few configurations:
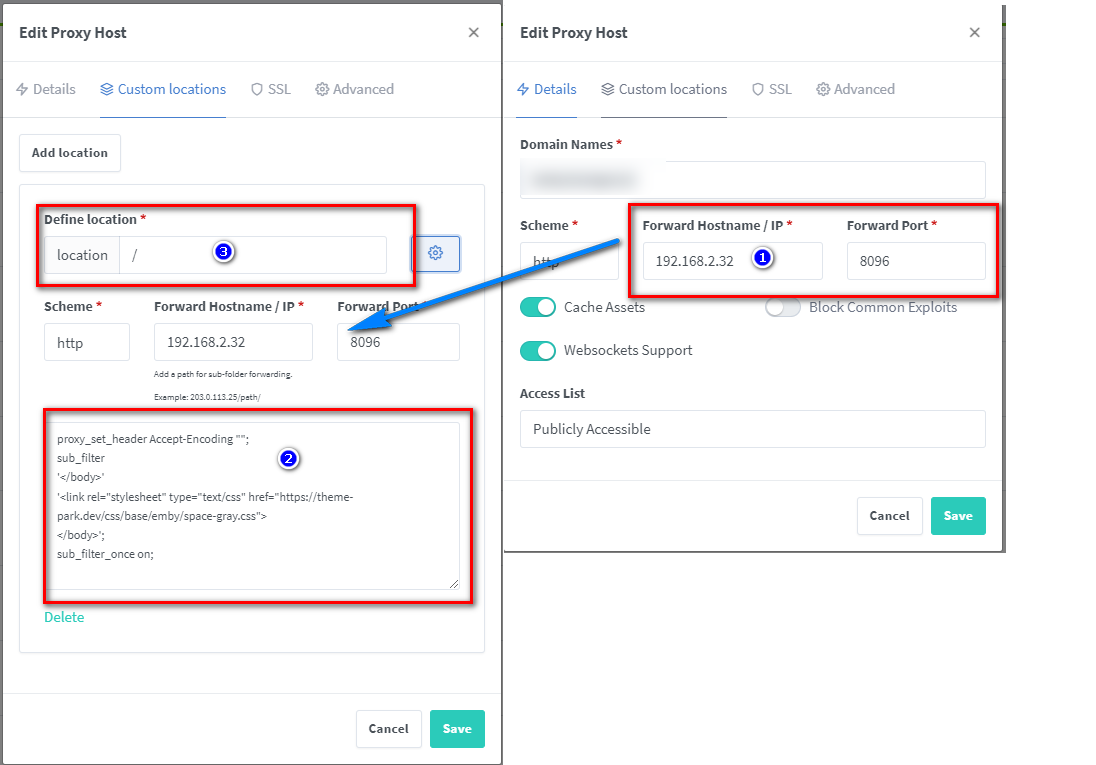
Just paste this code:
| |
And the theme will be applied:
Configuration Explanation:
- Add a custom location on the left, copy from the right side as is
- For the icon in place 3, if you haven’t changed it, it should be /
- The main part of the code to modify is: https://theme-park.dev/css/base/{software name}/{theme name}.css
For the software name, it’s recommended to check the supported software on the official website, and the themes can also be viewed there.
This concludes the entire tutorial…
If your reverse proxy is Caddy, Traefik, Apache, etc., you can visit the official website for more information.
3. Self-hosting theme-park
If you want to privatize the entire theme-park instead of using the official CSS themes (which might be slow), it’s simple, just deploy a Docker container:
| |
After setting up, when referencing themes, you can use the local path:
The IP is your NAS’s IP (mine here is 172.16.23.106), and the port is as defined in the configuration file above, if you follow my tutorial, it is 32080
Replace the first part of the href in the code from step 2
| |
4. Additional Information
For some applications, the deployment method differs because I don’t have some of the applications myself. Therefore, those who love beauty will need to research and tinker on their own. You can also leave a comment, and I will try my best to answer.
In Conclusion
Life is already complicated and gloomy enough. I hope today’s share can bring a splash of color to your NAS and private cloud ecosystem.
If you like this article, please remember to like, save, and follow 【Dad’s Digital Garden】, where we will continue to bring more practical self-hosting application guides. Together, let’s take control of our data and create our own digital world!
If you encounter any problems during the setup process, or have any suggestions, feel free to leave a comment below to discuss and learn together.
如果你觉得这篇文章对你有所帮助,欢迎赞赏~
Sponsor