
Simple, Clean, Ad-Free Niche Free Note-taking App: Self-built Tutorial for Flatnotes on NAS
1. Introduction
There are countless note-taking apps, such as Apple Notes, Evernote, Obsidian, Notion… even WeChat’s file transfer assistant.
They all have their own advantages and disadvantages:
- Slow speed and requires internet connection (Notion)
- Built-in note app on smartphones (does not support Markdown, not suitable for long texts)
- Bulky and data stored in the cloud (Notion, Evernote)
- Unable to record notes anytime (Evernote)
Today’s protagonist is Flatnotes, which is simple, focused, privately hosted, with dual editors for Markdown and rich text, and full-text search.
Introduction to Flatnotes
Flatnotes is a powerful and simple, focused note-taking app.
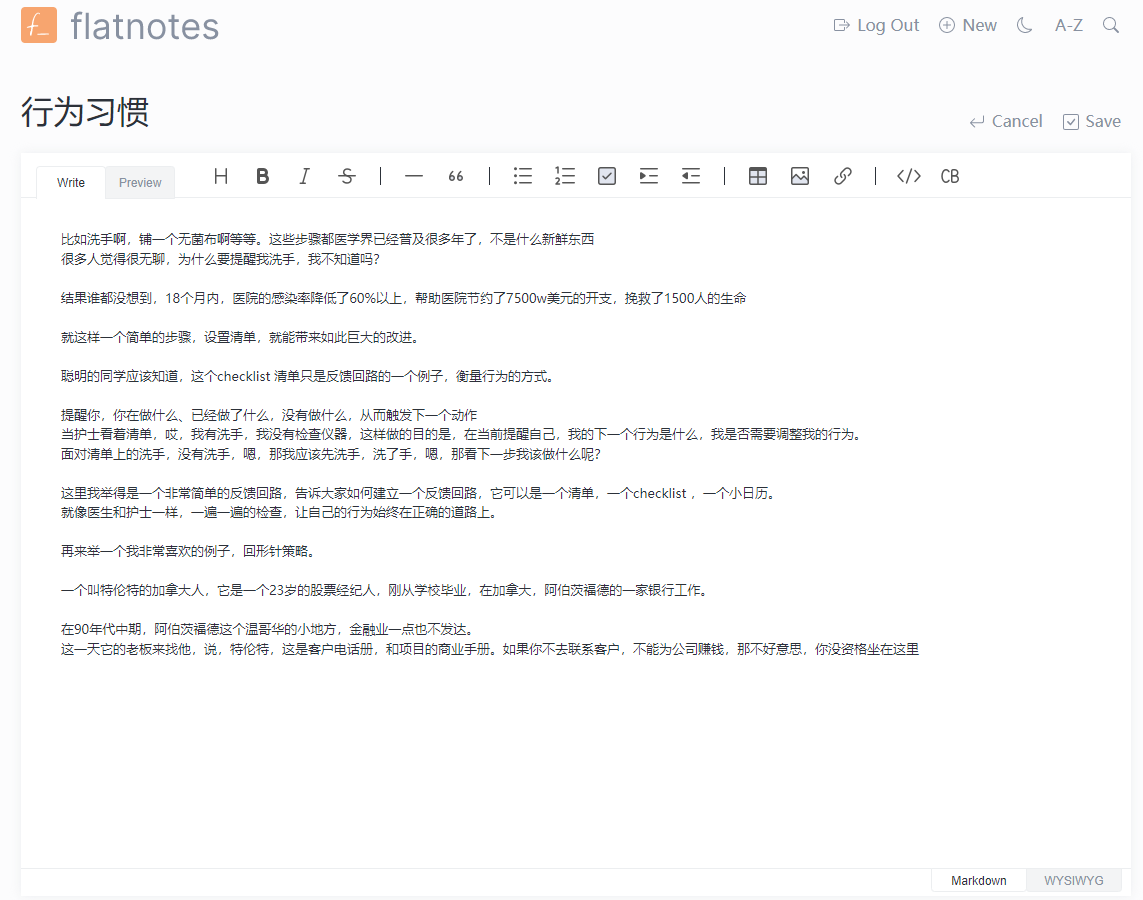
1. Markdown/Rich Text
Dual EditorIt provides both raw Markdown editing mode and WYSIWYG (What You See Is What You Get) Markdown editing mode.
Pic 2. Advanced Search
With Flatnotes’
advanced searchfeature, you can easily find your notes without manually searching through a large number of notes.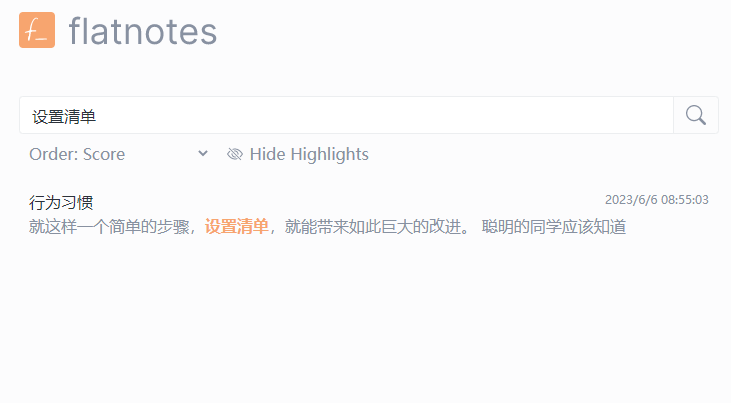
Pic 3. Custom Tags
With the tagging feature, you can better organize and categorize your notes. Simply add one or more
tagsto easily find specific notes.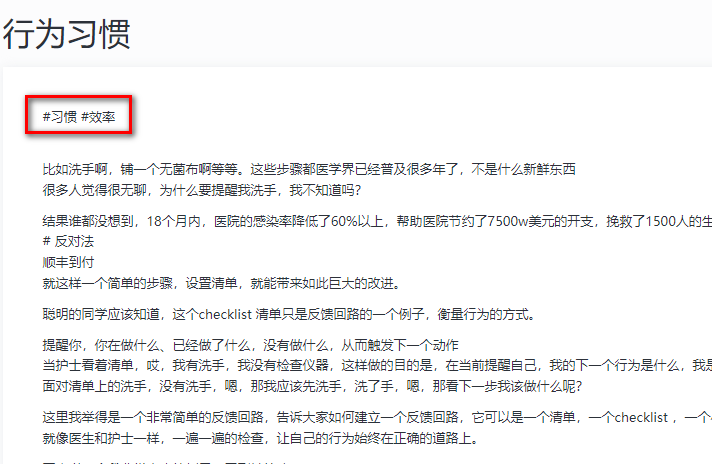
Pic 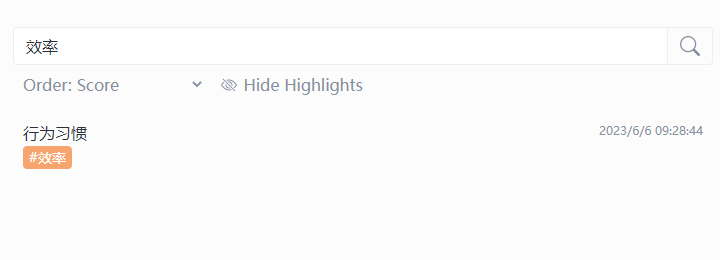
Pic 4. Light/Dark Themes
Flatnotes offers both
light and dark themesto suit your preferences and keep your eyes comfortable even after long-term use.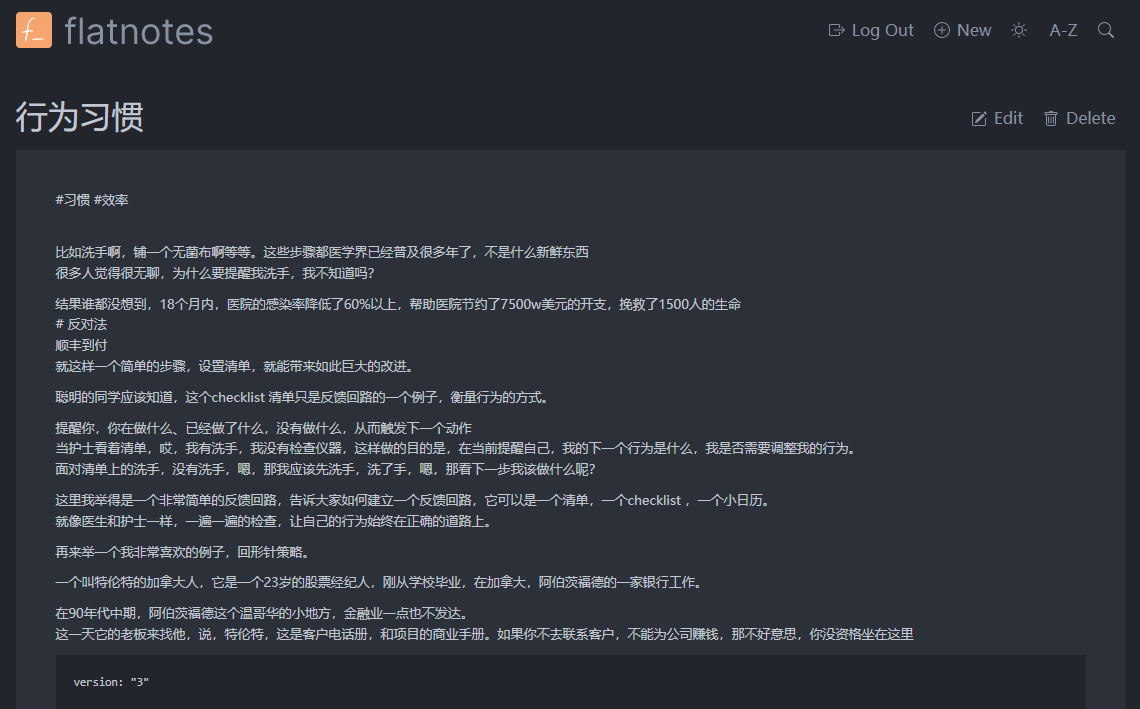
Pic
Let’s set it up step by step:
1. Key Points
Follow for free to stay on track
2. Install Portainer
Tutorial reference: 30-second Installation of Portainer, a Must-have Tool for NAS
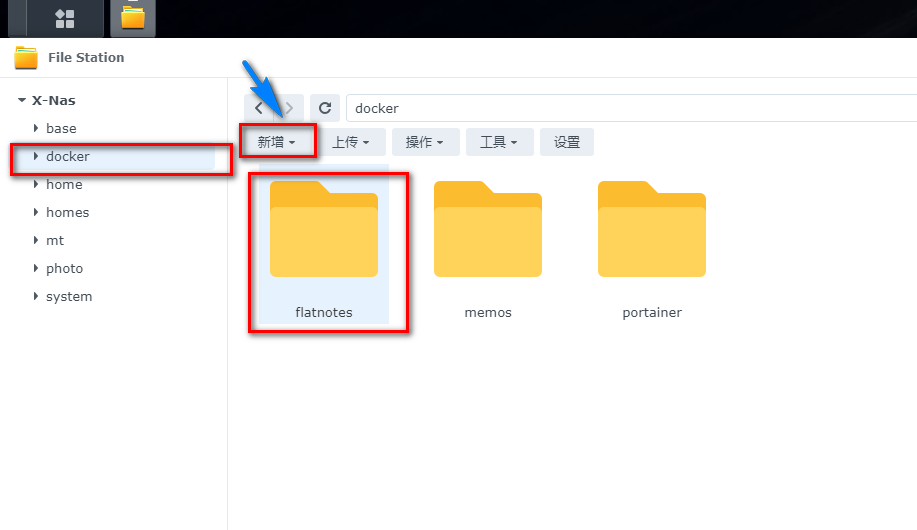
3. File Station
Open File Station and create a flatnotes folder in the Docker folder.
3. Create Stack
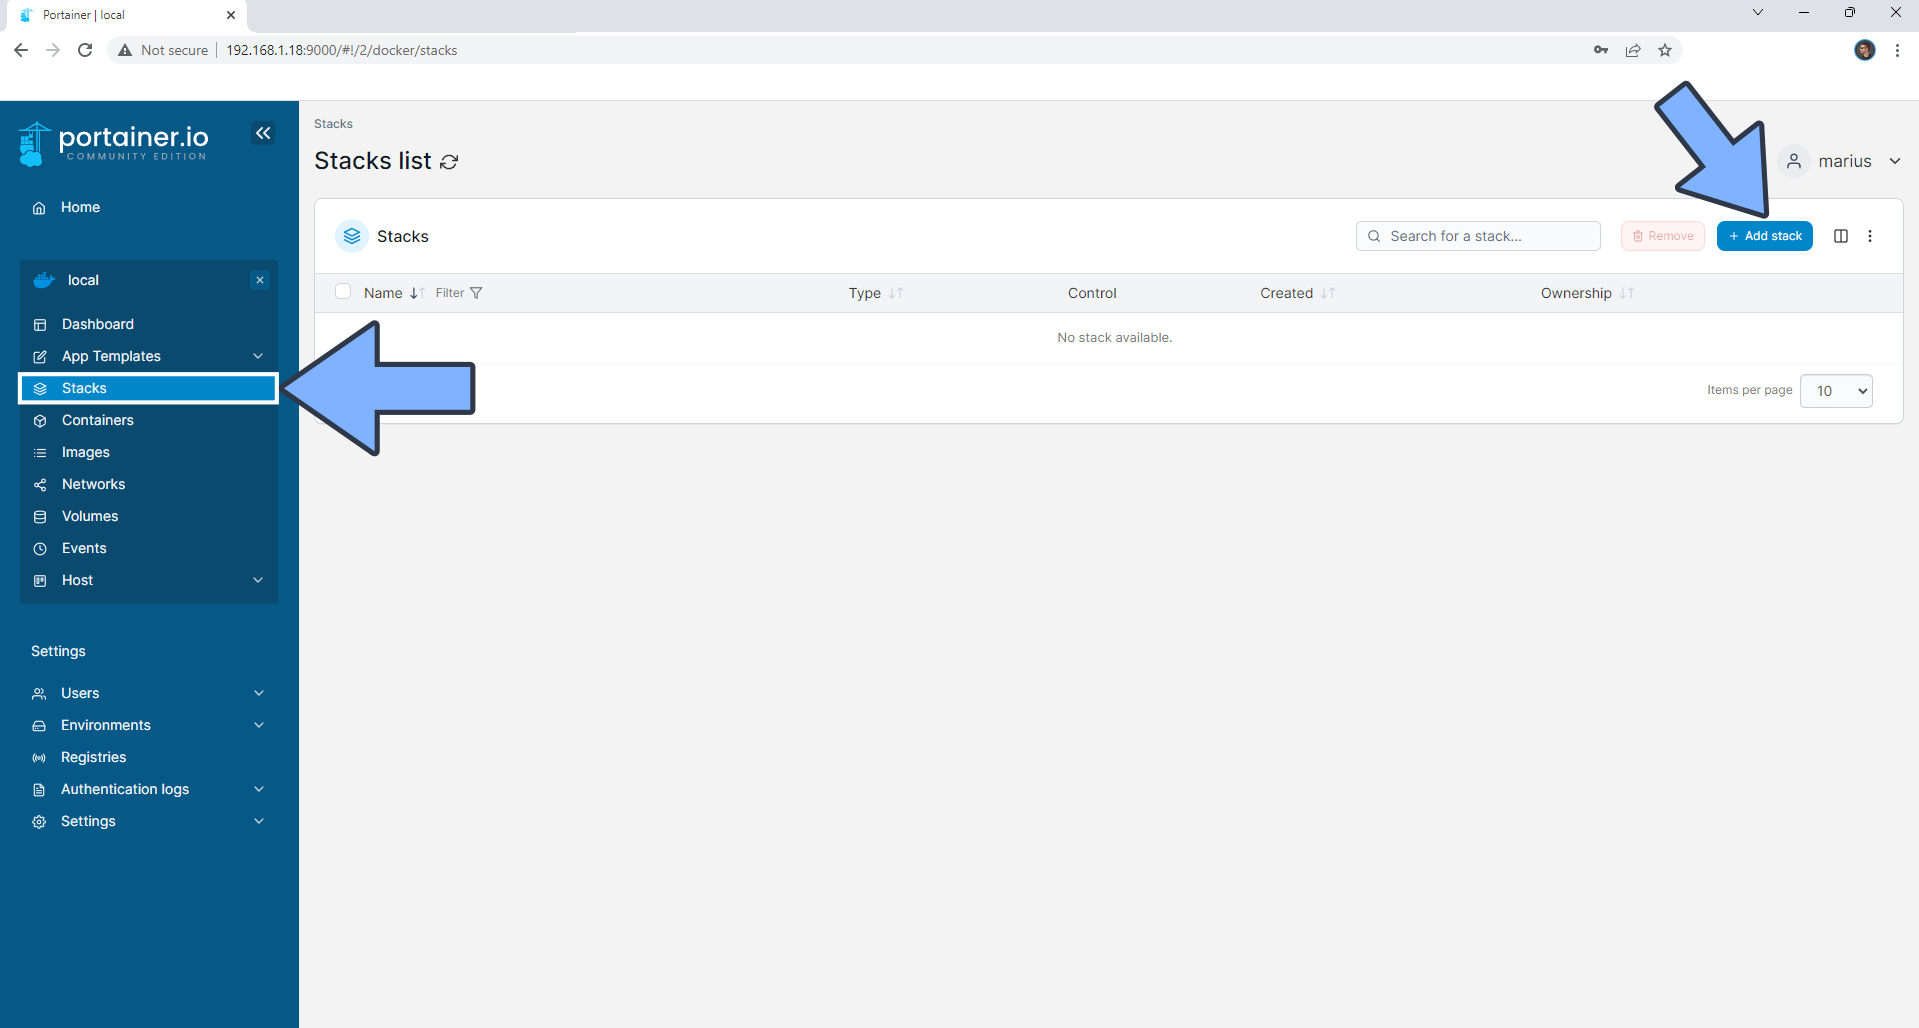
4. Create Stack
| |
- Select Stack
- Enter “flatnotes” in the name field
- Enter the above code in the editor
- Click deploy
5. Success
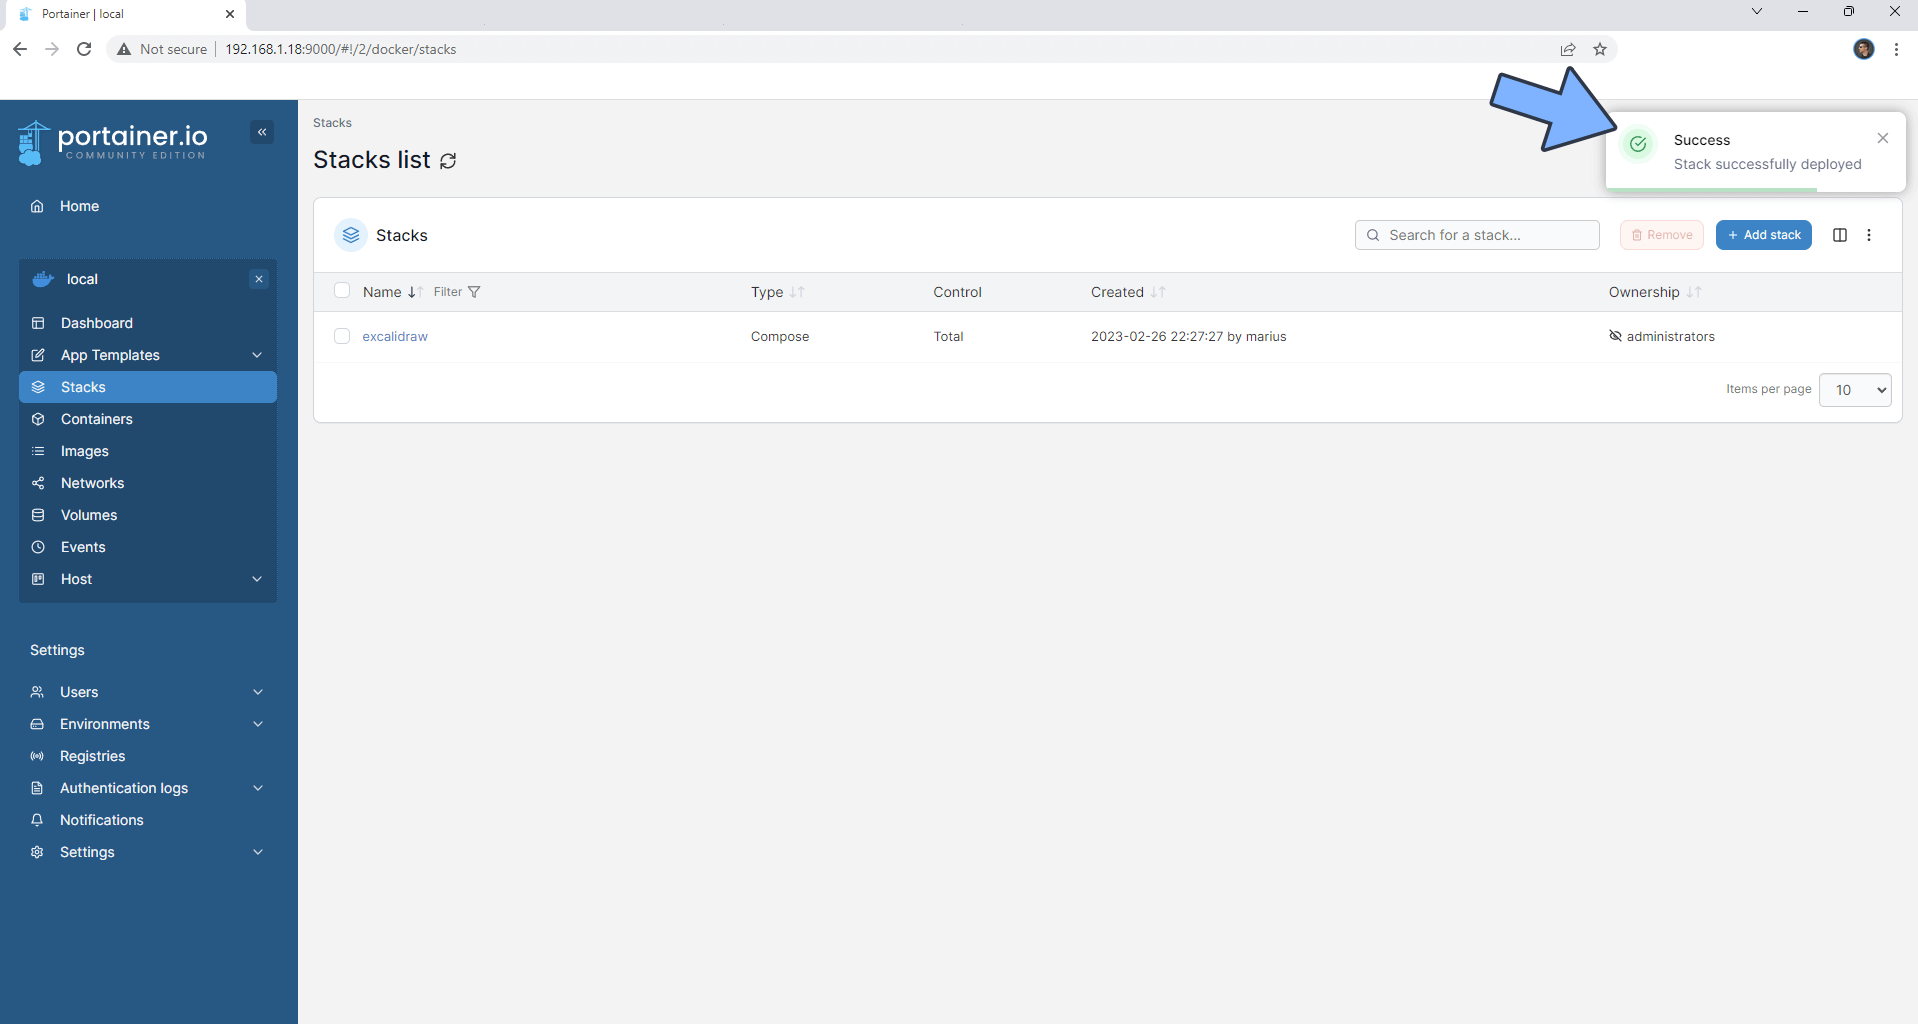
6. Usage
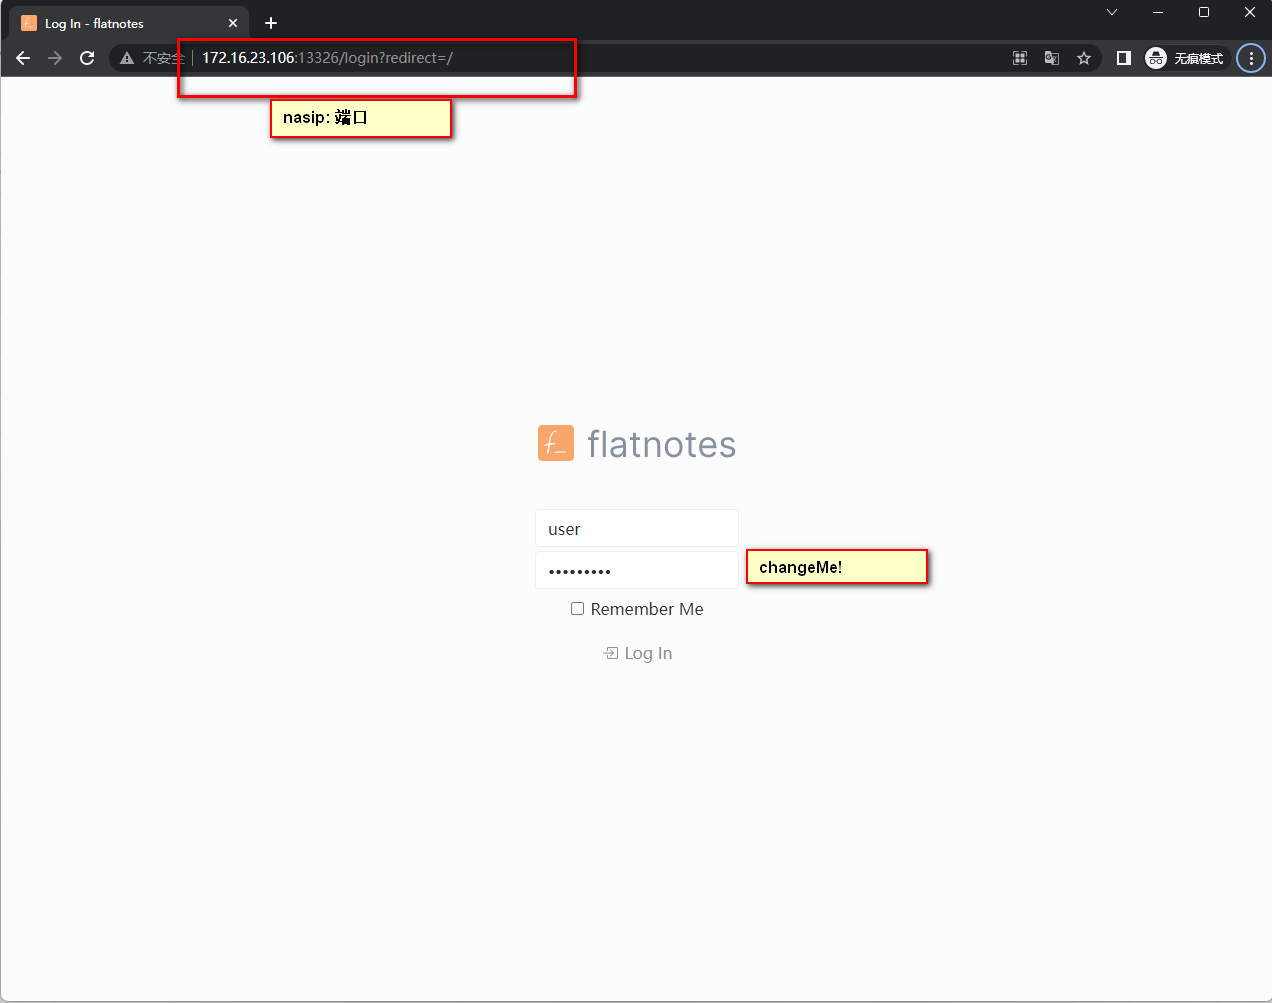
- Open the program in your browser: [ip]:[port]
The IP address for your NAS is the IP address where your NAS is located (in this case, mine is 172.16.23.106), and the port is defined in the configuration file above. If you followed my tutorial, it would be 13326.
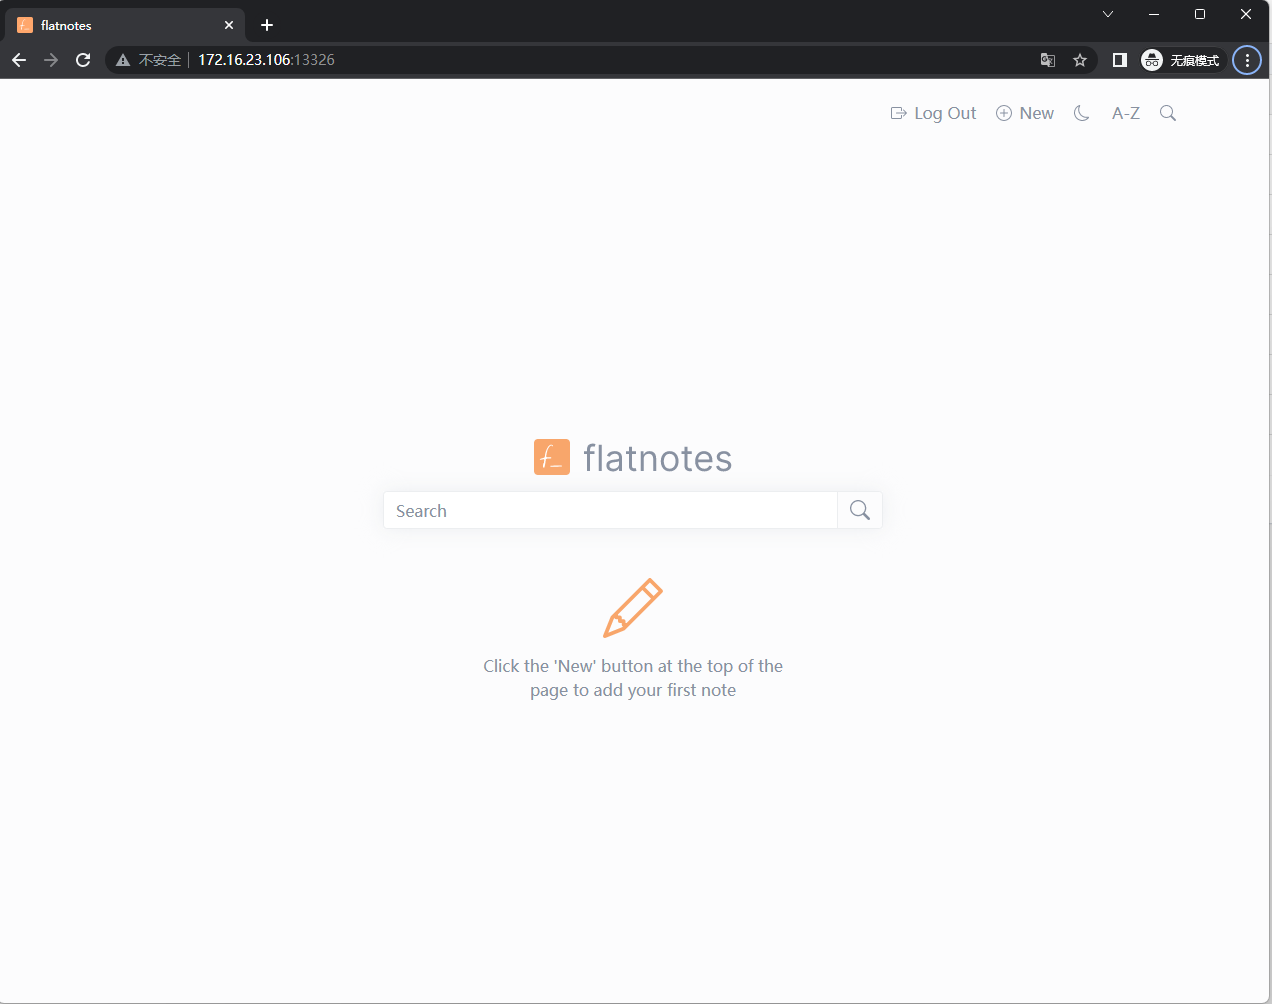
7. Enjoy
Finally
If you liked this article, please remember to like, bookmark, and follow Dad’s Digital Garden. We will continue to bring you more practical self-built application guides. Together, let’s take control of our own data and create our own digital world!
If you encounter any problems during the setup process or have any suggestions, please feel free to leave a comment below. Let’s explore and learn together.
如果你觉得这篇文章对你有所帮助,欢迎赞赏~
Sponsor