Building Your RomM Game Library: How to Set Up Your RomM Game Library?
1. Introduction
If you are like me, a retro game enthusiast who has collected many old game ROMs, but struggles to organize them properly on your NAS, then RomM might be able to solve your problem.
It can manage and organize all your games and can be accessed through a web browser. Additionally, you can enrich your game information using RomM.
Introducing RomM
RomM is a game library manager focused on retro games. You can manage and organize all your games through a web browser. Inspired by Jellyfin, it allows you to manage all your games using a modern interface and enriches your game information using IGDB metadata.
RomM has powerful features and functionalities:
- It can scan your game library (all or by platform) and enrich it with IGDB metadata.
- You can access your game library through your web browser.
- If the scan results are inaccurate, you can choose matching IGDB results.
- RomM is compatible with EmuDeck file structure.
- RomM supports multi-file games.
- You can download games directly from your web browser.
- You can edit your game files directly from your web browser.
- RomM supports regions, revisions/versions, and additional tags.
- RomM can use SQLite or MaridDB (default is SQLite).
- Mobile support
Setup Steps:
1. Key Points
Follow for free to stay on track
2. Install Portainer
Tutorial reference: Install Portainer, a Must-Have Tool for NAS, in 30 Seconds
3. File Station
Open File Station and navigate to the docker folder, create a romm folder
- Create a
rommfolder under the docker directory. - Under the
rommfolder, create the following subfolders:database(I chose SQLite),resources(static resources downloaded by RomM, such as covers and descriptions), andlibrary(your game directory).
The author provides two supported directory structures, and I chose the first one:
4. Create an IGDB Account
- Register your Twitch application on this page Twitch Developer Portal.
- Create a secret key.
- Copy the client ID and secret key.
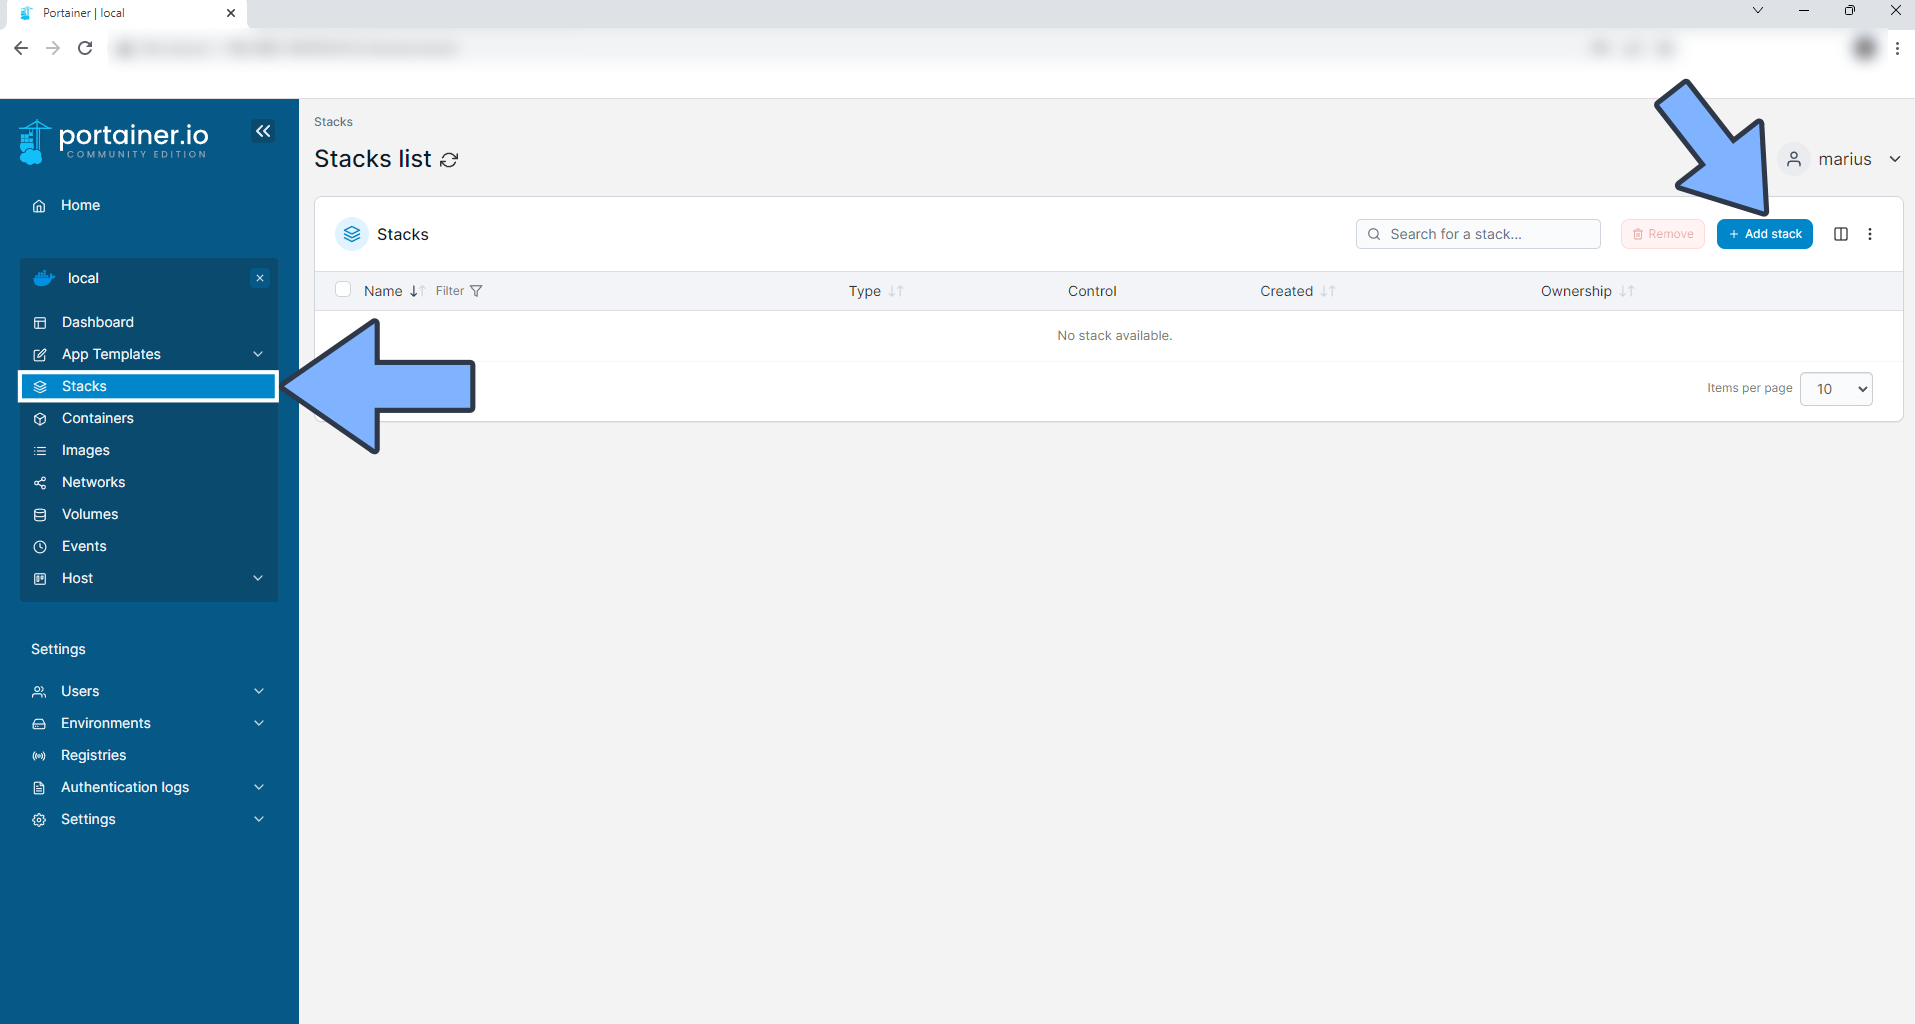
5. Create a Stack
6. Deploy the Code
| |
- Choose stack
- Enter “romm” in the name field
- Enter the above code in the editor
- Click deploy
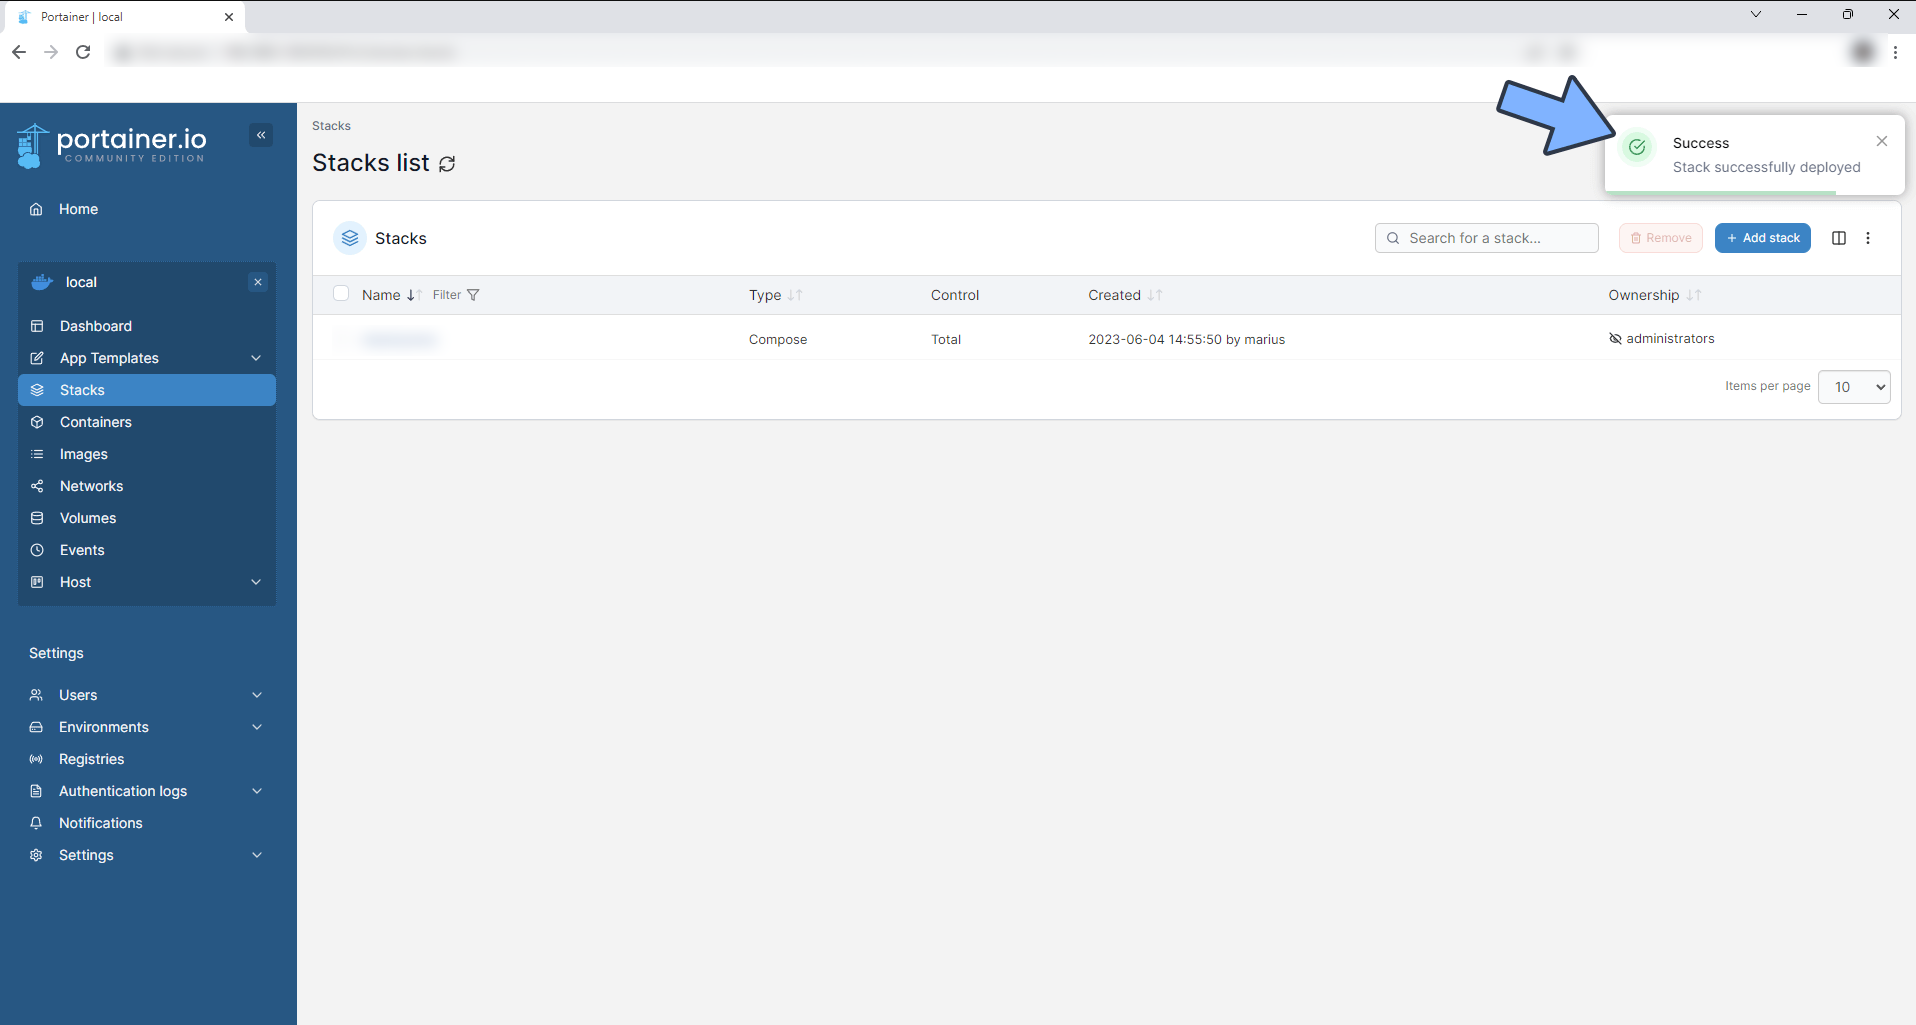
7. Success
8. Usage
Access the program in your browser: [ip]:[port]
The IP is the IP address of your NAS (mine is 172.16.23.106), and the port is defined in the configuration file above. If you followed my tutorial, it should be 13280.
9. Add ROMs
Place ROM files in the directory you set up earlier, following the specified format.
10. Start scanning
If the file names are in the correct format, the covers and descriptions will be scanned automatically.
If the file names are not in the correct format, manual scanning may be required.
Select a ROM.
After searching, you can select “Rename Rom” to modify the file name.
10. Finally, enjoy
When I feel nostalgic and want to play on my 3DS, I can simply download the ROMs.
Select multiple files, including DLCs, and download them together.
Finally
Romm is still not perfect, as it only supports English names and has rigid matching rules.
But there is great potential for the future, and the following features are currently being developed:
- Online upload
- Save management
- Custom covers
I am also interested in this project and intend to contribute to it. In the future, I may:
- Add Chinese language support
- Enable ROM downloads (may use qb, jackett)
- Integrate emulators (the author and many other interested people are working on this)
If you like this article, please remember to like, bookmark, and follow “Dad’s Digital Garden”. We will continue to bring you more practical self-hosted application guides. Together, let’s take control of our own data and create our own digital world!
If you encounter any problems or have any suggestions during the setup process, feel free to leave a comment below. Let’s explore and learn together.
如果你觉得这篇文章对你有所帮助,欢迎赞赏~
Sponsor


